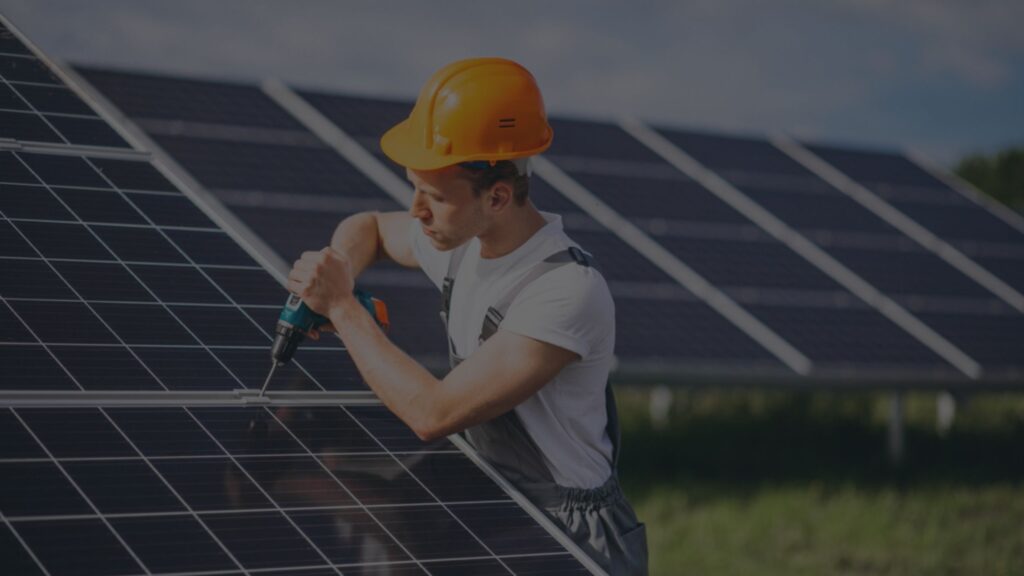
Solar panel not working after repair? Don’t worry, you’re not alone. This comprehensive guide will help you troubleshoot the issue and get your solar panels back up and running in no time.
We’ll cover everything from checking electrical connections to examining solar panel modules, inspecting wiring and conduit, and troubleshooting inverter issues. Plus, we’ll provide helpful tips on monitoring and data analysis to help you identify potential problems before they become major issues.
Troubleshooting Electrical Connections
Electrical connections are critical to the proper functioning of solar panel systems. Faulty connections can lead to a variety of problems, including reduced power output, intermittent operation, and even complete system failure.
There are several different types of electrical connections used in solar panel systems, including:
– MC4 connectors: These are the most common type of connector used in solar panel systems. They are quick and easy to connect and disconnect, and they are weatherproof.
– Anderson connectors: These connectors are also commonly used in solar panel systems. They are more durable than MC4 connectors, but they are also more difficult to connect and disconnect.
– Screw terminals: These terminals are used to connect wires to electrical components. They are simple to use, but they can be less reliable than other types of connectors.
When troubleshooting electrical connections, it is important to inspect all of the connections in the system. Look for any loose connections, damaged wires, or corrosion. If you find any problems, correct them and then test the system again.
Here is a step-by-step guide on how to inspect and test electrical connections:
1. Visually inspect all of the connections in the system. Look for any loose connections, damaged wires, or corrosion.
2. Test the connections with a multimeter. Set the multimeter to the continuity setting and then touch the probes to the two terminals of each connection. If the multimeter beeps, then the connection is good.
3. Tighten any loose connections. Use a wrench or screwdriver to tighten any loose connections.
4. Replace any damaged wires or connectors. If you find any damaged wires or connectors, replace them with new ones.
5. Test the system again. Once you have corrected all of the problems, test the system again to make sure that it is working properly.
By following these steps, you can troubleshoot electrical connections and ensure that your solar panel system is operating properly.
Troubleshooting Common Electrical Connection Issues
There are a number of common electrical connection issues that can occur in solar panel systems. These issues include:
– Loose connections: Loose connections can cause a variety of problems, including reduced power output, intermittent operation, and complete system failure.
– Damaged wires: Damaged wires can also cause a variety of problems, including short circuits, ground faults, and fires.
– Corrosion: Corrosion can damage electrical connections and cause them to fail.
To troubleshoot these issues, follow the steps Artikeld above. If you are unable to resolve the issue, contact a qualified electrician for assistance.
Examining Solar Panel Modules: Solar Panel Not Working After Repair
To troubleshoot a solar panel that is not working after repair, it is important to examine the solar panel modules. Solar panel modules are the individual units that make up a solar panel system. They are typically made up of several solar cells connected together.
When examining solar panel modules, it is important to look for any signs of damage or defects. This can include cracks in the solar cells, broken wires, or corrosion. It is also important to check the connections between the solar cells and the junction box. Loose or damaged connections can prevent the solar panel from functioning properly.
Using a Multimeter to Test Solar Panel Module Output, Solar panel not working after repair
A multimeter can be used to test the output of a solar panel module. To do this, set the multimeter to the DC voltage setting. Then, connect the positive lead of the multimeter to the positive terminal of the solar panel module and the negative lead of the multimeter to the negative terminal of the solar panel module.
The multimeter should read the voltage output of the solar panel module. The voltage output will vary depending on the size and efficiency of the solar panel module. However, a typical solar panel module will produce a voltage output of around 12 volts.
If your solar panel is not working after a repair, it’s important to check the warranty. What is the best solar panel warranty can help you understand the coverage and limitations of your warranty. This will help you determine if the repair is covered and what steps you need to take to get it fixed.
Inspecting Wiring and Conduit
Solar panel systems utilize various types of wiring and conduit to ensure safe and efficient operation. Wiring can be made of copper or aluminum, while conduit is a protective covering that safeguards wires from damage and the elements.
To inspect wiring and conduit, follow these steps:
- Visual inspection: Examine wires for any signs of damage, such as cuts, nicks, or discoloration. Check conduit for cracks, holes, or rust.
- Continuity test: Use a multimeter to test the continuity of wires. A continuous connection indicates that the wire is intact.
- Insulation resistance test: This test measures the resistance between the wire and its insulation. A high resistance value indicates that the insulation is in good condition.
Common wiring and conduit issues include:
- Loose connections: Loose connections can cause arcing and overheating, leading to system failure.
- Damaged insulation: Damaged insulation can expose wires to moisture and other hazards, creating a potential safety risk.
- Corroded conduit: Corrosion can weaken conduit and compromise its protective function.
By regularly inspecting wiring and conduit, you can identify and address any potential issues, ensuring the safe and reliable operation of your solar panel system.
Inverter Examination

An inverter is a crucial component in a solar panel system, converting the direct current (DC) generated by the solar panels into alternating current (AC) for use in homes or businesses.
To ensure the smooth operation of the system, it’s essential to inspect the inverter regularly and troubleshoot any potential faults.
Inverter Inspection Guide
- Visual Inspection: Check the inverter for any physical damage, such as dents, scratches, or loose connections.
- LED Indicator Lights: Observe the LED indicator lights on the inverter. Different lights may indicate different operating modes or faults.
- Output Voltage and Frequency: Use a multimeter to measure the output voltage and frequency of the inverter. Compare the readings with the manufacturer’s specifications.
- Temperature Monitoring: Check the temperature of the inverter using an infrared thermometer. Excessive heat may indicate a fault.
Troubleshooting Common Inverter Issues
- No Output: Check for loose connections, faulty wiring, or a tripped circuit breaker. Reset the breaker and ensure all connections are secure.
- Low Output: Inspect the solar panels for any shading or damage. Clean the panels if necessary and ensure they are receiving adequate sunlight.
- Overheating: Ensure the inverter is properly ventilated and not exposed to direct sunlight. Clean any dust or debris from the vents.
- Ground Fault: Check the electrical grounding of the system. A proper ground connection is crucial for safety and preventing electrical shocks.
Monitoring and Data Analysis

Solar panel system monitoring is crucial for optimizing performance, detecting issues, and ensuring the system is operating as intended. By regularly tracking system output and analyzing data, homeowners and businesses can proactively address any potential problems and maximize energy production.
Monitoring tools provide real-time data on system performance, including power output, energy yield, and efficiency. These tools can be accessed remotely through web portals or mobile apps, allowing for convenient monitoring from anywhere.
Data Analysis for Issue Identification
- Compare current output to historical data to identify any significant deviations that may indicate a problem.
- Analyze trends in energy production over time to identify seasonal variations or potential degradation of the system.
- Monitor weather conditions and correlate them with system performance to assess the impact of environmental factors.
Ending Remarks

By following the steps Artikeld in this guide, you’ll be able to quickly and easily troubleshoot your solar panel system and get it back to generating clean, renewable energy for your home.
FAQ Corner
Why is my solar panel not working after repair?
There are many possible reasons why your solar panel is not working after repair. Some of the most common causes include loose or damaged electrical connections, faulty solar panel modules, damaged wiring or conduit, or a malfunctioning inverter.
How can I troubleshoot my solar panel system?
To troubleshoot your solar panel system, you will need to check the electrical connections, examine the solar panel modules, inspect the wiring and conduit, and test the inverter. You can find detailed instructions on how to do each of these tasks in this guide.
What should I do if I can’t fix my solar panel system myself?
If you are unable to fix your solar panel system yourself, you should contact a qualified solar installer or electrician. They will be able to diagnose the problem and make the necessary repairs.


